Landscape
Artist Analasys
Guy Tal

This image is very bright and eye catching. the colours in this picture are very simple. everything is purple. the flowers are dark purple and the ground is very light purple. what is effective about this image is that the flowers stop half way through making almost a line that divides the flowerless ground and the ground that has flowers.
|

This is a beautiful image of bright yellow flowers growing on light purple ground with what appears to be a mountain or a volcano in the background. This image looks very magical because of the different colours. The purple goes really well with the eye catching yellow and together they make a very beautiful image.
|
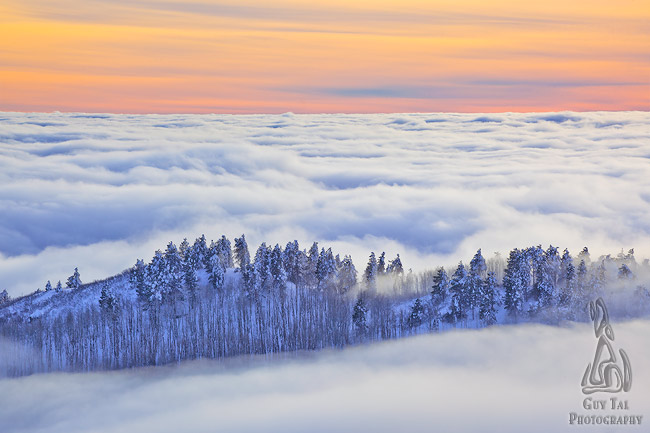
This is an amazing image. it almost looks unreal, like it is from a story, a magical land of some kind. the colours all blend in incredible well. the different shades of purple go amazingly well with the pink, yellow sky above. the light purple clouds surround the dark purple trees that make a line in between the clouds.
|
Thomas Struth

this is a very urban image of tall buildings. it is very simple. the colours are very neutral and similar. the colours used are mostly beige, grey and washed out white. This image is very empty. although there are a few buildings, there are no people or nature apart from the one tree that ads colour to this picture.
Lynne Cohen |

unlike the image on the left, there is a lot going on in this image. It is very busy. there are a lot of buildings with ads on them and around them there are people. people walking, talking, shopping. Again there is not much nature and although there are colours, the image is faded and the colours aren't bright.
|

This image includes a lot more nature than the other two. this image is of trees and a massive rock/mountain. a street is also seen in the picture however that is not the main focus. the colours in this are dark apart from the mountain and the sky which is a beautiful clear blue sky.
|
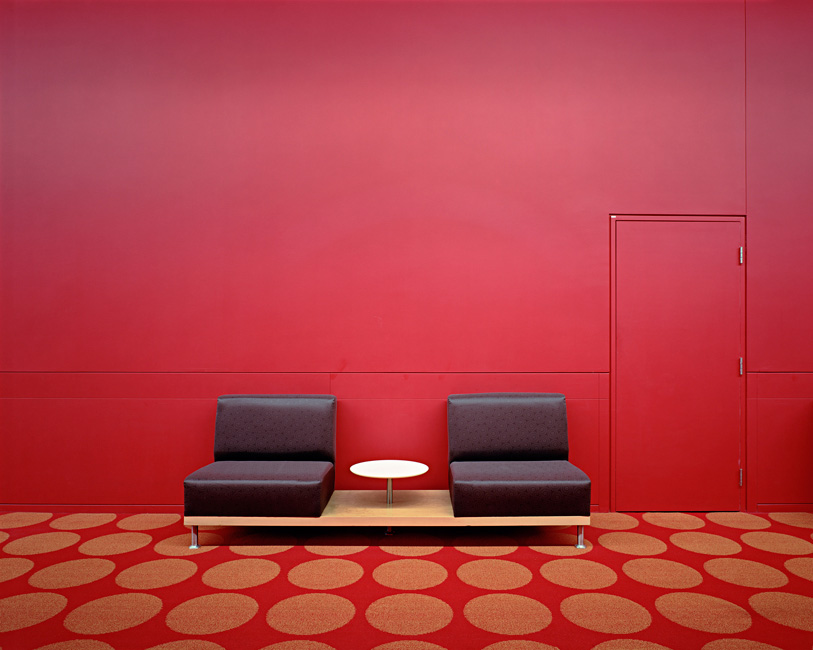
This image is incredibly simple. there is hardly anything going on and there isn't very much in this. The main focus of the image are the two burgundy chairs and the tiny white table in between them. everything else apart from that is red. The wall is a bright strong red and so is that carpet. The carpet has big light red polka dots on it. This is a very effective image because of how simple it it.
|
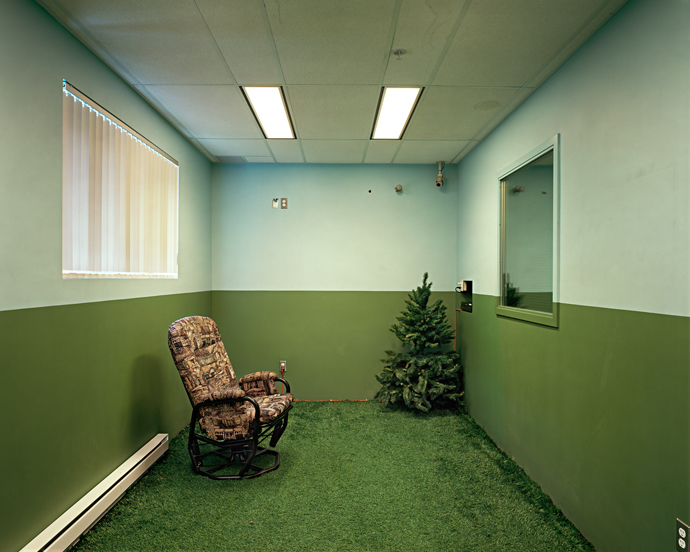
Again, this is a very simple image. the only colours in this are light blue and green with the exception of the old brown hair. The colours in this are very effective because the green makes a line and then the blue carries on and this halves the room.
|

this image is of black submarines in front of a yellow tiled background. just like the other two images, this is very plain. the colours in this stand out as they are very bright. the black contrasts the bright yellow background.
|
School Environment
The images below are taken of the environment in school. I took pictures of e mould growing on the walls, leaves and plants as well as trees etc. I also took photos of the old swimming pool that hasn't been managed for years. The images that I took are interesting as they set an atmosphere of abandonment as they are of dirty old equipment with mould growing everywhere.
First Response
|
Second Response


Framing the environment
Artist Research : John Divola

|
John Divola was born in Los Angeles in 1949. He is a contemporary visual artist and he currently lives and works in riverside. Divola works in photography, describing himself as exploring the landscape by looking for the edge between abstract and the specifics. He mostly takes pictures of the environment from inside. He uses windows to frame the environment ouside.
|

This image taken by John Divola is of a dark blue broken window and wall that are framing the light blue sea outside. The wall is spray painted with grey paint. There aren't shapes or words but there are squiggles all over the wall and some on the actual window frame to make the image more eye catching. There is a colourful magazine in the air that makes the image more interesting and different. On the floor you can see a few loose papers, possibly from the magazine. You can also see a lot of rubbish on the floor including wrappers, cardboard and glass from the broken window.
|

This image is of an empty room with massive smashed windows overlooking the beautiful, colourful sea and sky. The floor contrasts the walls as they are white and the floor is dark brown. On the floor there is glass, again and also an empty brown suitcase or briefcase. You can see that the window used to be spray painted with red paint. over all the image looks very old and abandoned because of all the rubbish on the floor, the broken unprotected windows and the ceiling that has patches on it.
|

This is a very beautiful image of a white window overlooking the beautiful orange sunset. The window frame again has grey lines painted on it to make the image more interesting. The actual glass itself is broken but what's more interesting about the glass is that what is left of it, is actually bright red which is very unusual. This image is taken from a low angle which makes the image very interesting.
|
Framed Environment: First Response
The images below are taken in school. I took images of the view from windows adding the actual windows in the photo. This creates different frames for the environment outside of the window which makes it look interesting and neat.


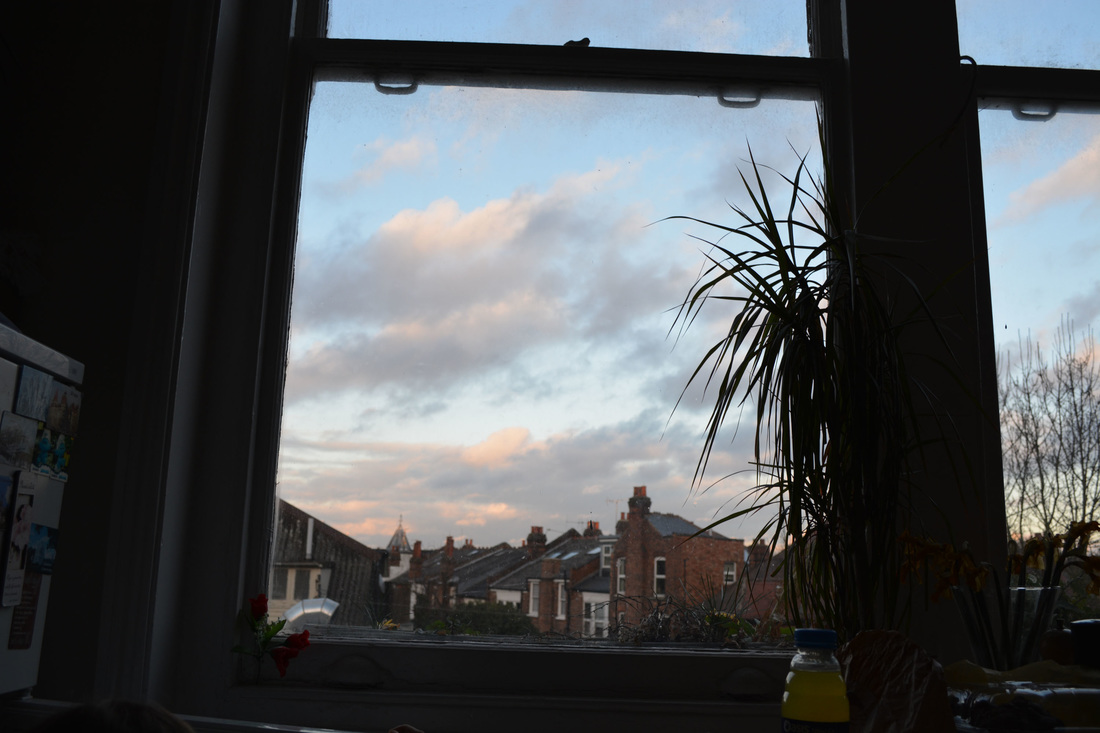
Framed Environment: Second Response
I took these pictures from the windows of my house. I used the same technique as before in order to frame the environment and capture interesting photos.


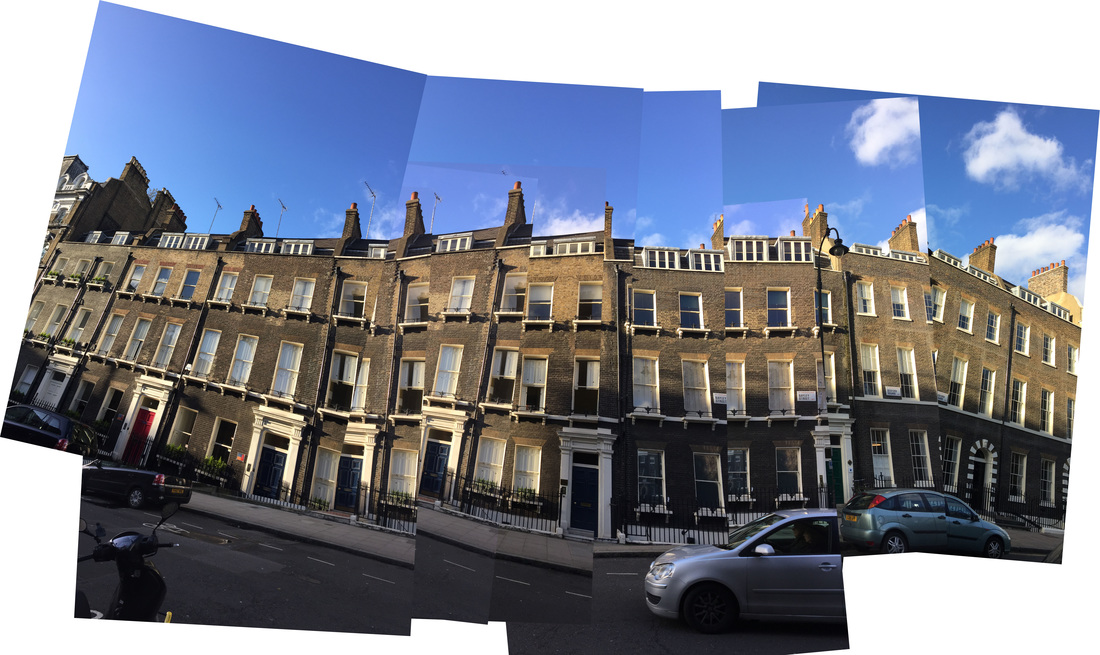
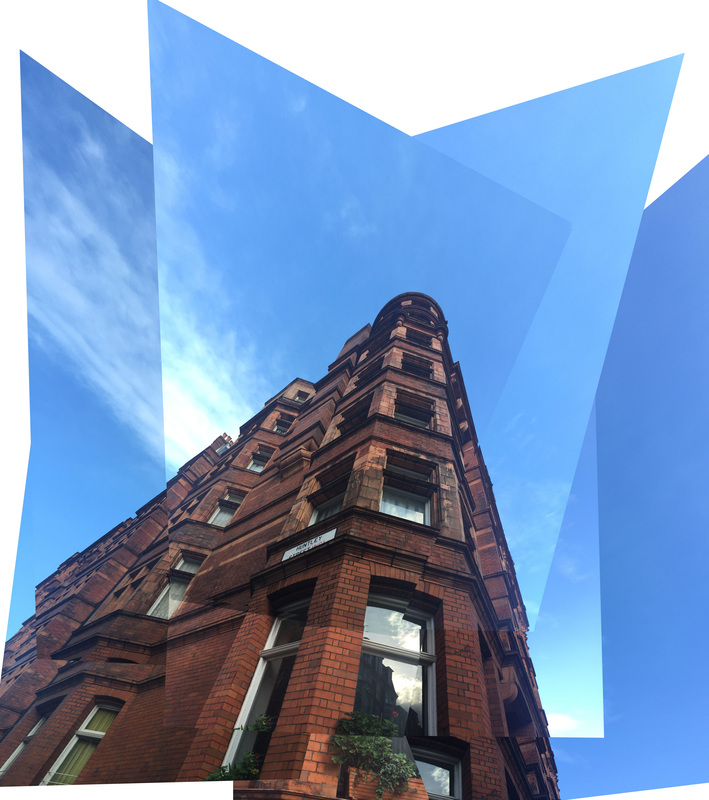
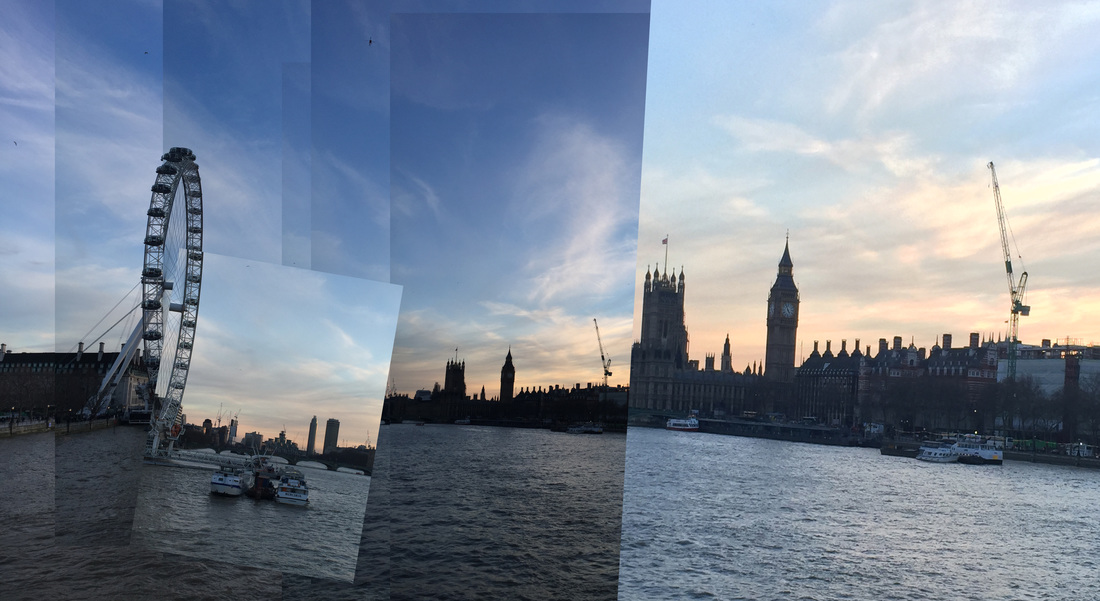
Panographies
Technique:
- The first stage is to go out into the environment and take a series of photographs from one location at several different angles.For this, the Auto or P mode should be selected on the DSLR. The camera should be zoomed out so a full frame is captured.
- The second stage is to use Photoshop to create the photographic panography. This has been achieved following these steps: File > Automate > Photo merge > Select collage mode
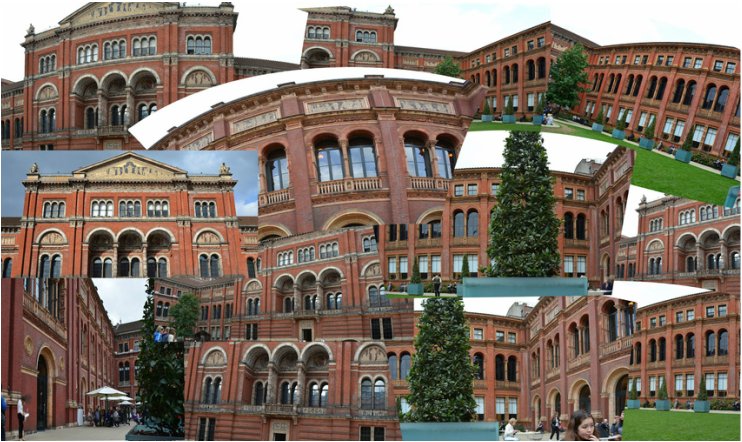
Panographies: First Response

Panographies: Second Response
The Formal Elements
The formal elements consist of layers, perspective, contrast, texture, scale, focus and pattern. A good composition often has one or more of these aspects. Below are images of examples of all the formal elements.
Layers

Scale
|

Perspective
Focus
|
Contrast
Pattern
|

Texture
|
Perspective
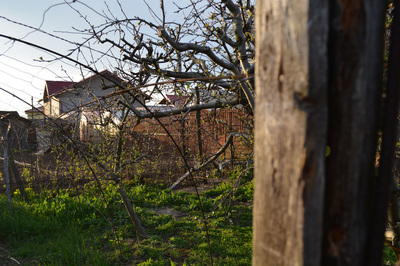
Below are a series of images that show perspective. Perspective is the art of representing an image in a way that gives the right impression of it's depth, width, height and position in relation to other objects.


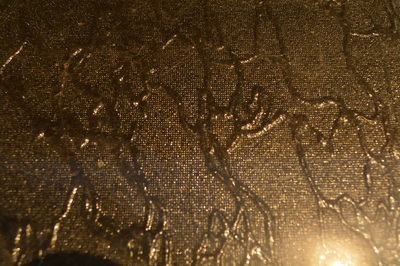
Texture
The images below show texture. Texture could mean anything like bricks, windows and hair. |I took these images in school of unusual looking windows, walls and grass.
Texture: Second Response
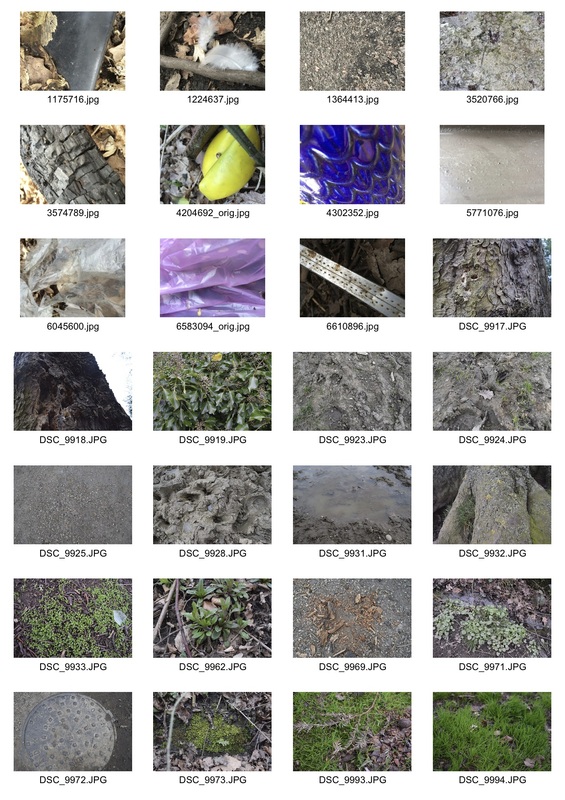
Taken in Hampstead Heath
I took the images below in Hampstead heath. I tried to take pictures of more interesting textures that are colourful and unusual to make my work more unique.
My London
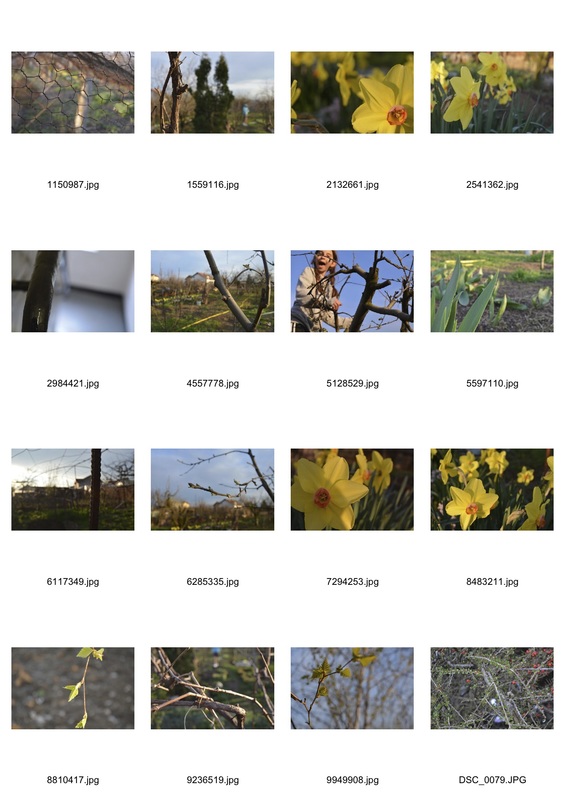
Below are contact sheets and final pieces of texture and focus. I took some of these images in London and some abroad to vary my responses . For my focus images I focused the camera on one specific thing to show a strong focus. For my texture images I again tried to take pictures of more unusual looking objects to make my work more interesting.
Focus
The images below are of photos I took using manual focus. The photos are of close up objects that are clearly made the focal point of the image with a blurry background to make that even more obvious.
Texture
Below are images I took of texture. I took these photos in many different places as interesting texture can be found anywhere. There are photos of animal fur, windows, walls and tree barks as they create a really unique pattern/texture.

|

|


Evaluation


Refined Images
The image below are edited versions of images I took on holiday. I used photoshop to overlay them and create the double exposure images. I think this makes them look more interesting as I chose images that don't normally go together to make them unique and unusual.


Final Piece
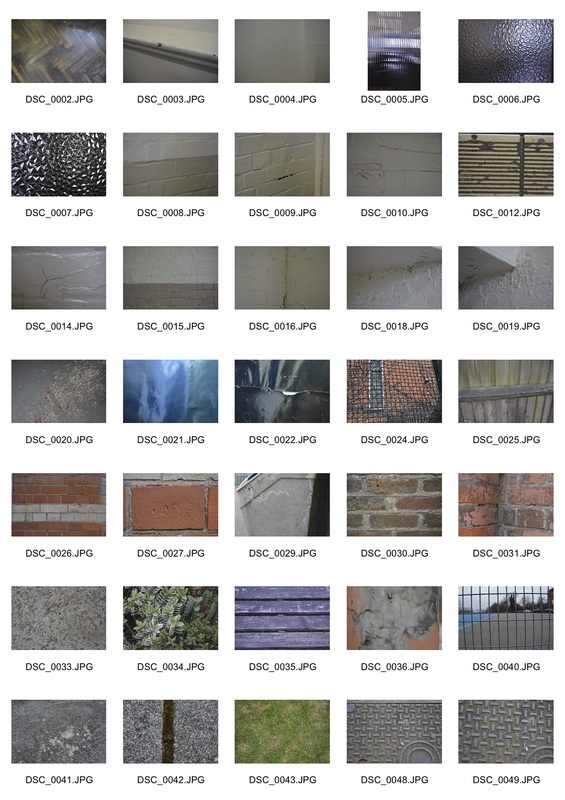
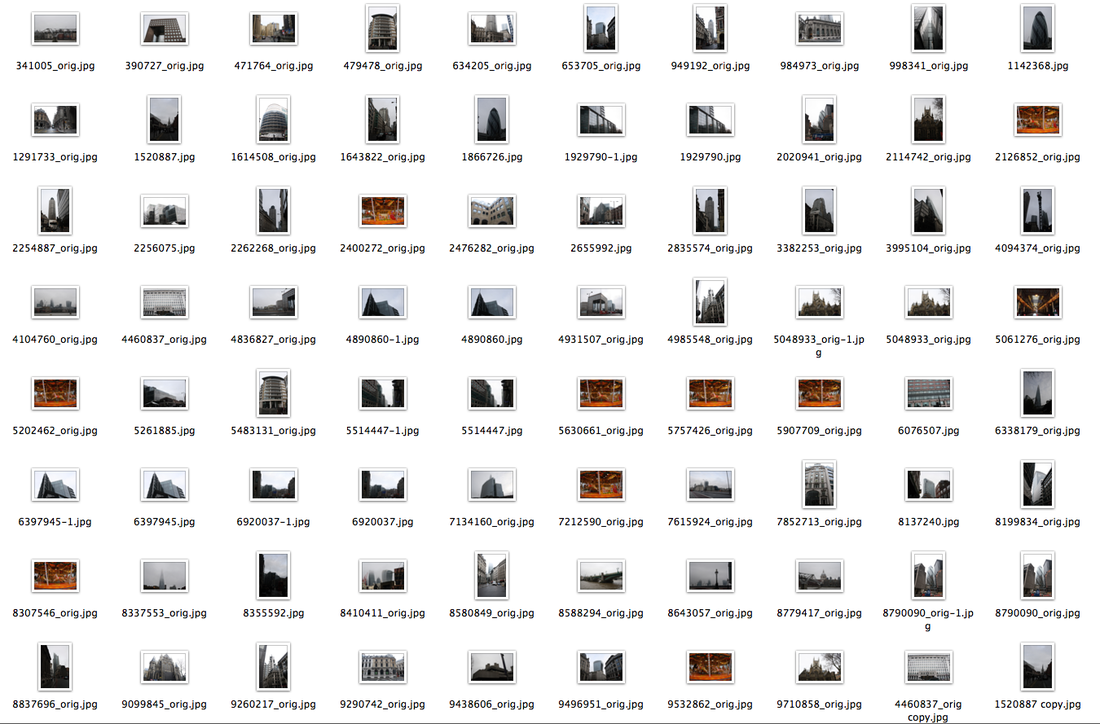
For my final piece I decided to create some more Panographies as I thought they looked very interesting and showed a different perspective of the places I took the images in. Below are some screenshots I took that show how you create panographies using photoshop. Once you've opened photoshop you click file>automate>photomerge. That then allows you to load the images onto photoshop. After you've found your photos click either Auto if you wan rounded images or collage if you want straight edge images. Then unclick the button at the bottom which says "blend images together" as this make all the pictures into just one blended image. Below the instructions of how to create one is a contact sheet of images I took in euston of houses and buildings that I used to make the final pieces.


Contact Sheet